With the passage of time, we have to understand that great jobs and clients, not only look for people with creativity and a good eye, but also professionals with the ability to execute projects. In order to achieve a good execution, it is necessary to plan and have a clear idea of what is going to be done. Keep in mind that the client is not only investing their money by hiring us and the entire team, but they are also putting something very valuable in your hands, their reputation. This is why mood boards are so important.
Today we will answer what is a mood board and we will give you some tips on how to create them. We guarantee that your photos will improve and you will get more clients.
What Is A Mood Board?
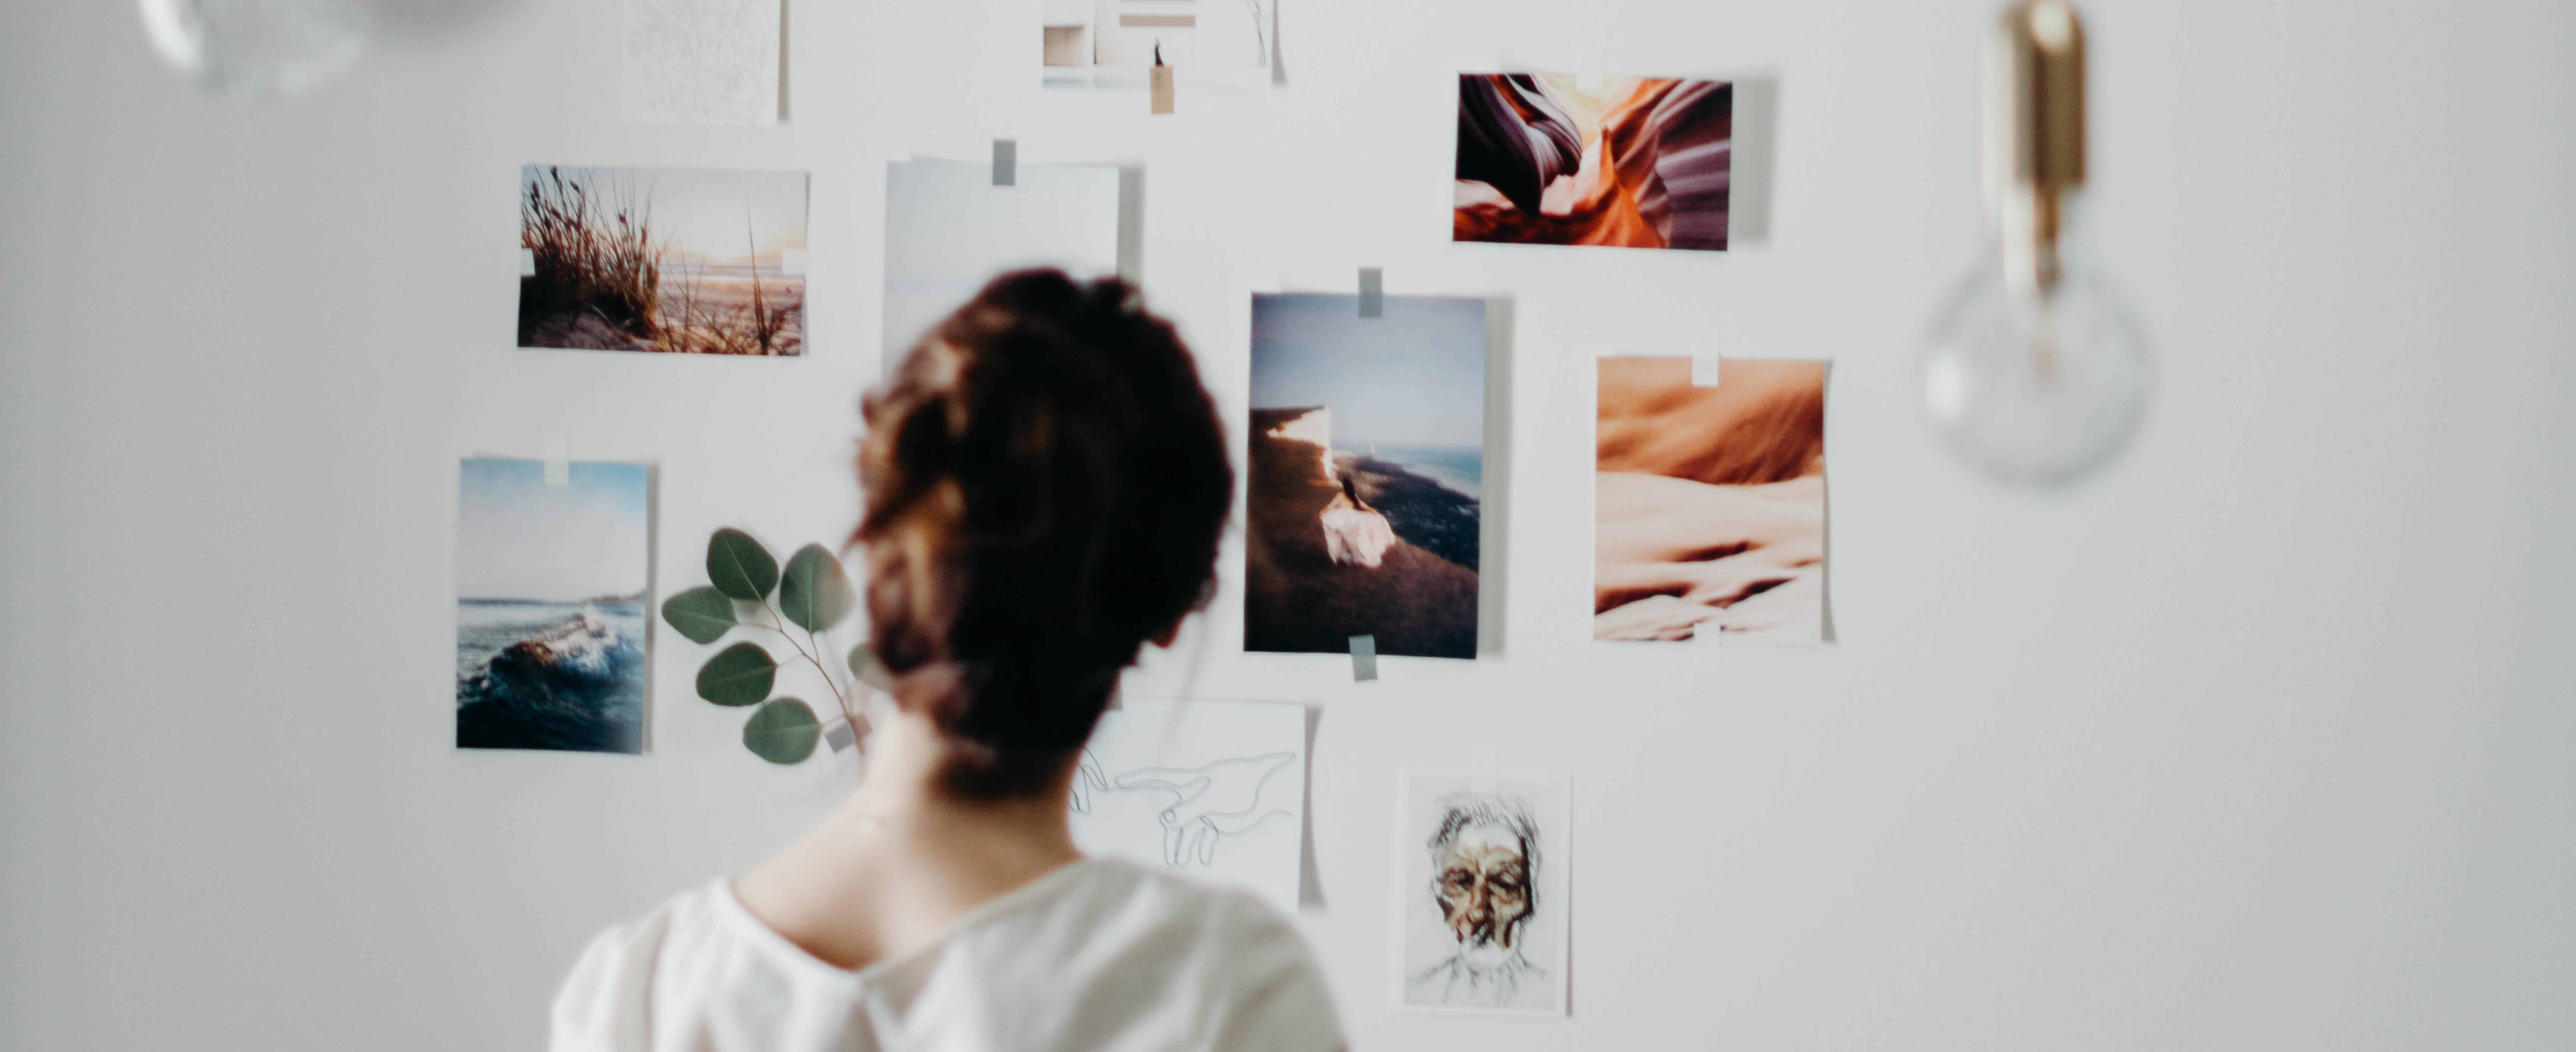
The mood board is a graphic and visual representation that groups concepts and helps to define a line on which to work.
In other words, it is a tool that allows us to put our ideas on a board and when we visualize them we can understand what we need for the project or how we should approach it.
Although it seems simple, it is really useful and sure that after you start using it will be essential in your next shootings.
But, how does all this fit into photography?
Well, as we mentioned at the beginning, big clients are not only looking for creative professionals with a good eye, but they also need people they can trust their investments and the reputation of their companies. That’s where the mood board comes in.
Whether you have too much or too little information, creating mood boards simplifies the creation of concepts.
It also lets us and them know what you’re forgetting, what’s a priority and even what production elements are needed to develop your project.
In addition, it is a tool in which we can put your ideas, style, ways of working and then we can send them to your clients.
How to create a mood board?
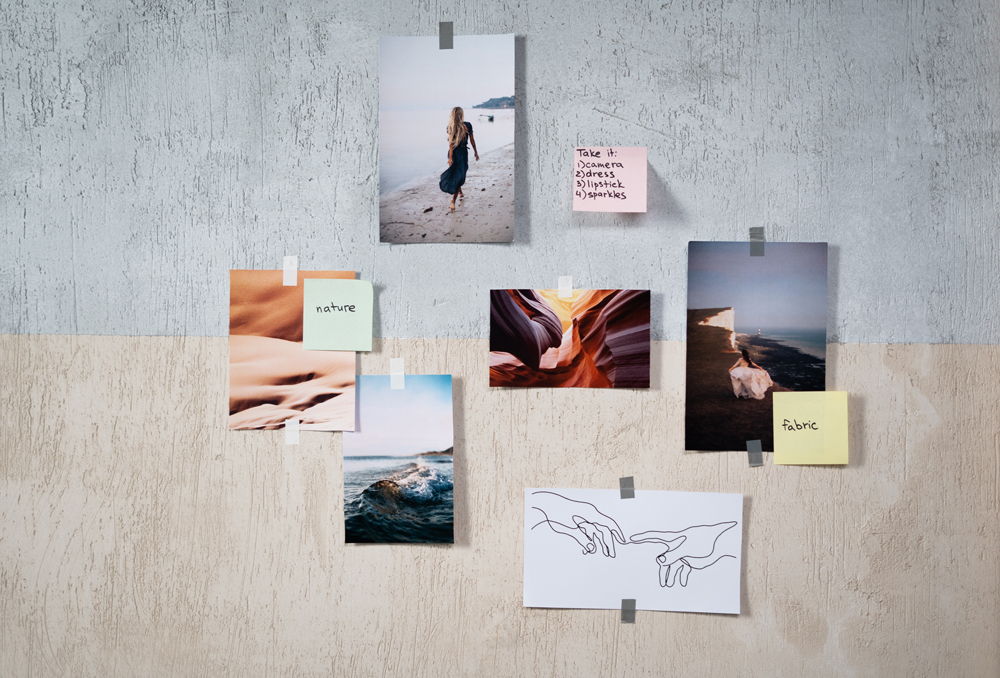
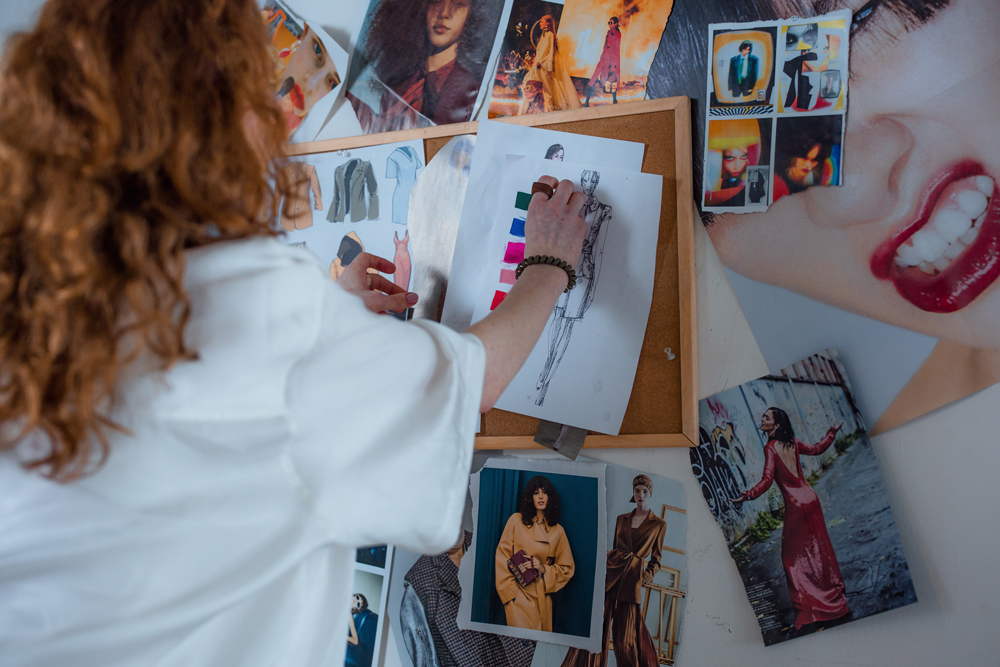
Usually in schools, the teachers assign you to make collages with magazine clippings. After trimming, we would glue the clippings onto some cardboard so that we could create an image. A mood board is very similar to this. The first thing you need is to have an idea about what the session will be.
After that, you have to look for inspiration. Exactly the same as at school, you have to look for photos, images, things that inspire you. In addition, you can use text, colors, icons, etc.
You must put all this in an organized way in a document that you can easily access and share with the rest of the team to understand what you want to achieve.
The form of presentation, like the organization, is personal. Everyone finds, understands and is inspired by different things, so in this part, you can be creative.
Things you can’t miss in your mood board
Keep in mind that the mood board should serve as a summary and should contain the essence of what you want to achieve. However, there are some things that are very important and you should keep in mind. I list them for you here:
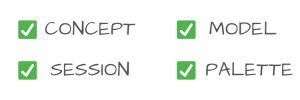
- The concept. The first point is to define the concept of the session. This part is usually the most difficult. Rely on the company’s intention, its objectives or what they want to communicate with the shooting.
- Type of photoshoot. Is it going to be a portrait, beauty, fashion, studio, outdoor, etc.?
- The type of model you need. Give details about the type of model you are looking for. Do you need a blonde model, of a specific ethnic group or with some special ability?
- Color palette. It will help you find not only the clothes and the necessary settings, but it will also allow you to start planning the final look that you will give to the photos when you retouch.
Always keep in mind that the mood board is something you create to help clarify your ideas and those of the rest of the team. So add all the information you consider relevant.
Pro tips to make them rock!
Now that you know what a mood board is, it’s time for us to go and build our own. But first, we need to use some pro tips that we’ve mentioned below:
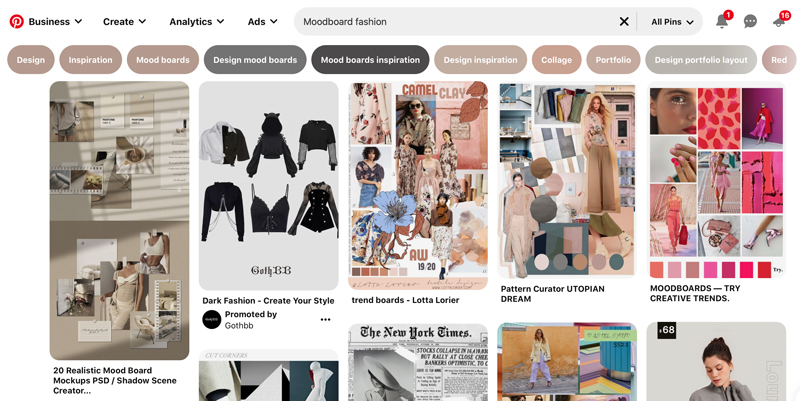
1. Find inspiration on Pinterest
This website offers thousands of nice pictures to inspire. This is the best platform to do it.
2. Use Canva to create it
We find it an easy tool to use for any type of user. Then save it in PDF format to share it with the rest of the team.
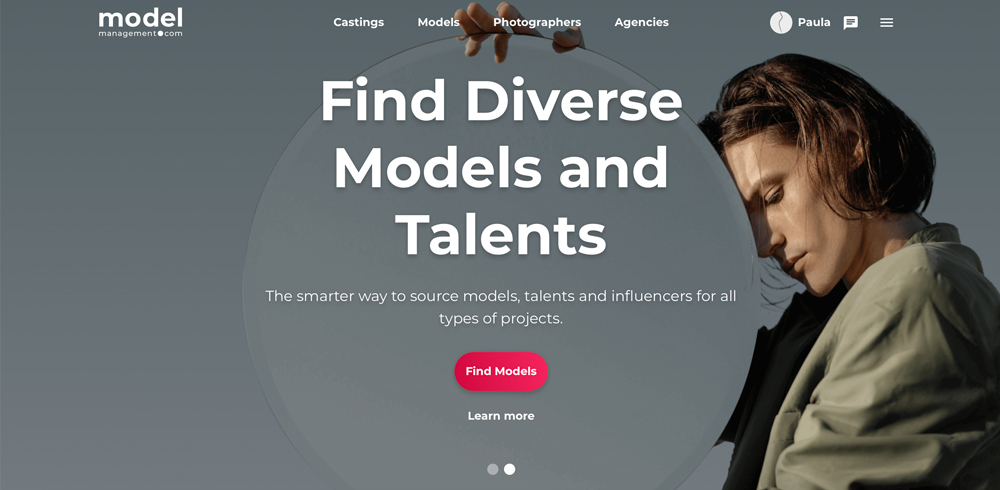
3. Find models on ModelManagement.com
ModelManagement.com has thousands of models worldwide. Post a casting for free and find the right model for your project.
4. Keep it simple!
The best ideas are usually the simplest. The mood board is made to clarify ideas and eliminate the “noise”. Don’t complicate it too much or it will be difficult to do and understand.
5. Explain ideas with text
Explain the concept and leave notes. When we do a photo shooting for a client we are under pressure. Sometimes we can forget things. Having notes that help you remember everything you have to do will keep you on track.
6. Send it before the shooting
If possible, sharing the mood board with the rest of the team a couple of days before is the best option. This way everyone will have time to familiarize themselves with the session. If the client wants, send it to them too.
Are you thinking about starting a new project? Find the perfect models for it!


Add comment